Tulips are among the most beloved spring flowers, celebrated for their vibrant colors and elegant shapes. Learning how to plant tulip bulbs is the first step towards bringing this burst of spring beauty to your own garden. With their varied hues and forms, these perennials can transform any space into a lively display of nature’s artistry.
Embarking on this gardening adventure requires just a bit of preparation and knowledge. Whether you dream of creating a dazzling color palette or a serene floral escape, the process begins with the simple act of planting a bulb. This guide is designed to demystify the steps, ensuring that even beginners can enjoy the rewarding experience of tulip gardening.
Armed with the right information and a sprinkle of patience, you’re on your way to cultivating a stunning tulip display that will herald the arrival of spring in your garden year after year.
Understanding Tulip Bulbs

The Best Time to Plant Tulip Bulbs
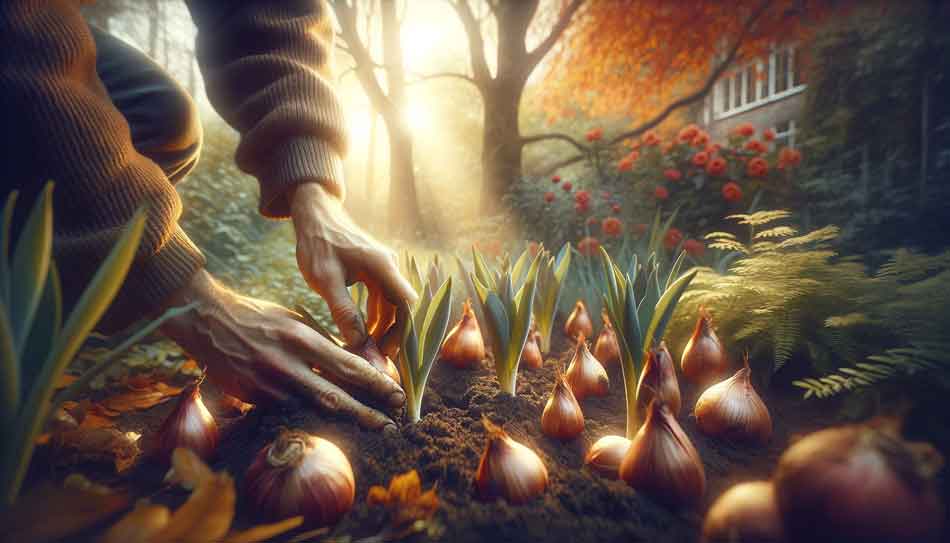
The journey to a blooming garden starts with timing. For those eager to see their tulips flourish, autumn is the golden window for planting. This period allows the bulbs to establish themselves, preparing for a spectacular spring awakening. As the cool soil cradles these bulbs through winter, nature does its work, setting the stage for the blooms to come.
Choosing the Right Tulip Bulbs
Selecting your tulip bulbs is like choosing the cast for a grand spring play in your garden. Look for bulbs that are firm and free from damage, as these are the protagonists of a successful bloom. There’s a vast array of tulip varieties, each with its unique charm and requirements.
Varieties of Tulip Bulbs
From the classic elegance of the ‘Darwin Hybrid’ to the fringed petals of the ‘Fringed Tulips’, every variety offers something special. Consider mixing different types to create a tapestry of color and texture. Imagine a garden where each turn unveils a new scene, a place of continual discovery and delight.
Preparing to Plant Your Tulip Bulbs

Selecting the Perfect Location
Tulips thrive in spots bathed in sunlight yet sheltered from the harshest winds. A well-chosen site is the canvas on which you’ll paint your garden masterpiece. Ensure the soil drains well, as tulips prefer not to have “wet feet.” It’s this attention to detail that transforms gardening from a task to an art.
Soil Preparation for Tulip Bulbs
Preparing your garden bed is akin to laying the foundation for a house; it’s crucial for stability and growth. A little effort in enriching your soil with compost or well-rotted manure can lead to vibrant blooms come spring. It’s about creating an environment where your tulips can thrive, not just survive.
Ideal Soil Conditions for Tulip Bulbs
Loose, fertile soil is the dream home for a tulip bulb. Adjusting the soil’s pH to be slightly acidic to neutral welcomes a wider variety of tulips. Remember, the goal is to mimic their natural mountainous habitats, providing them a place where they can feel at home, even in your backyard.
The Planting Process

How to Plant Tulip Bulbs
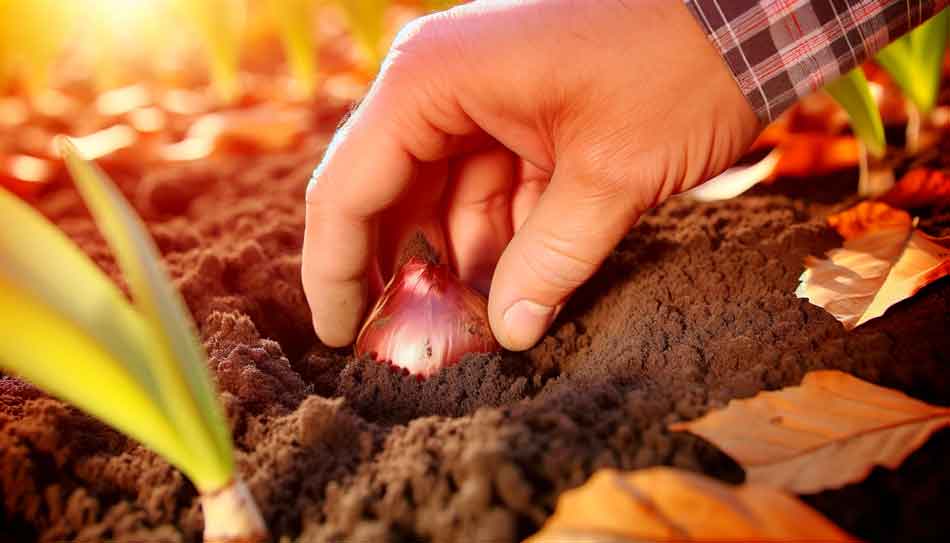
With your chosen bulbs and the perfect spot in hand, it’s time to start planting. Dig a hole about three times as deep as the height of the bulb, usually around 6 to 8 inches. This depth encourages strong root growth and protects the bulbs from surface temperature changes. Gently place the bulb in the hole, with the pointed end facing up, as if it’s reaching for the sky. This simple act, repeated with care and hope, lays the foundation for the spring spectacle.
Watering and Mulching Techniques
After planting, giving your tulips a good drink with a Garden Hose helps settle the soil around the bulbs. However, moderation is key; too much water can be detrimental. As winter approaches, a layer of mulch can be a cozy blanket for your bulbs, offering protection from the cold and keeping the soil temperature stable. This tender, loving care ensures your tulips will have the best start possible.
Preventing Pests and Diseases
Gardening is not without its challenges. Pests and diseases can threaten your tulip bulbs, turning your dreams of spring blooms into a gardener’s nightmare. Employing preventative measures, like choosing disease-resistant varieties or using natural repellents, can safeguard your garden. Remember, the best defense is a good offense, especially in gardening.
Aftercare and Maintenance

Caring for Tulips After Planting
Once your tulips are snugly in the ground, the waiting game begins. Regular checks and maintenance through the winter months are crucial. Ensure the soil doesn’t become too dry, especially if there are warm spells. Yet, avoid the temptation to overwater. Your vigilance is the guardian of their dormancy, ensuring they awaken in all their glory with the first signs of spring.
What to Do After Tulips Bloom
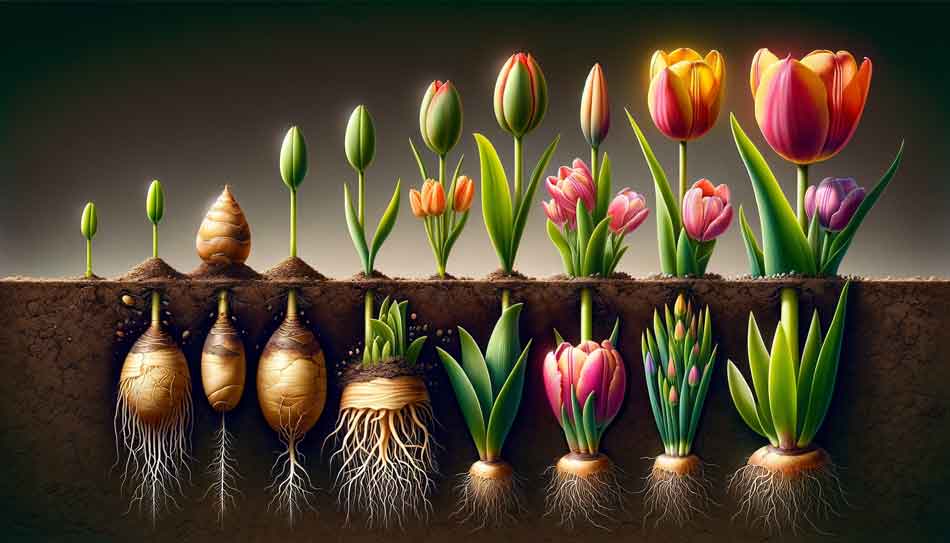
The spectacle of your tulips blooming is a rewarding sight, but care doesn’t end there. After blooming, allow the leaves to remain until they yellow and die back naturally. This process recycles nutrients back into the bulb for next year’s display. Deciding whether to lift and store your bulbs or leave them to naturalize depends on your climate and the tulip variety. This cycle of care is what makes gardening both a science and an art.
Troubleshooting Common Issues

Addressing Tulip Growing Problems
Even with the best preparation and care, you might encounter some hurdles. Tulips not blooming, or bulbs rotting in the ground, can dishearten any gardener. Often, these issues stem from poor soil conditions or choosing the wrong variety for your climate. Addressing these problems early by assessing the health of your bulbs and soil can steer your garden back to its intended splendor. Remember, every challenge is an opportunity to learn and grow, both for you and your garden.
FAQ: Planting Tulip Bulbs
Conclusion
Embarking on the journey of planting tulip bulbs brings not only the promise of colorful blooms but also the joy of connecting with nature. Each step, from selecting the right bulbs to addressing the challenges, enriches your gardening experience. As you watch your tulips sway in the spring breeze, remember that this beauty is the fruit of your patience and care. Let it remind you of the cycle of life and growth, both in your garden and within yourself.


